

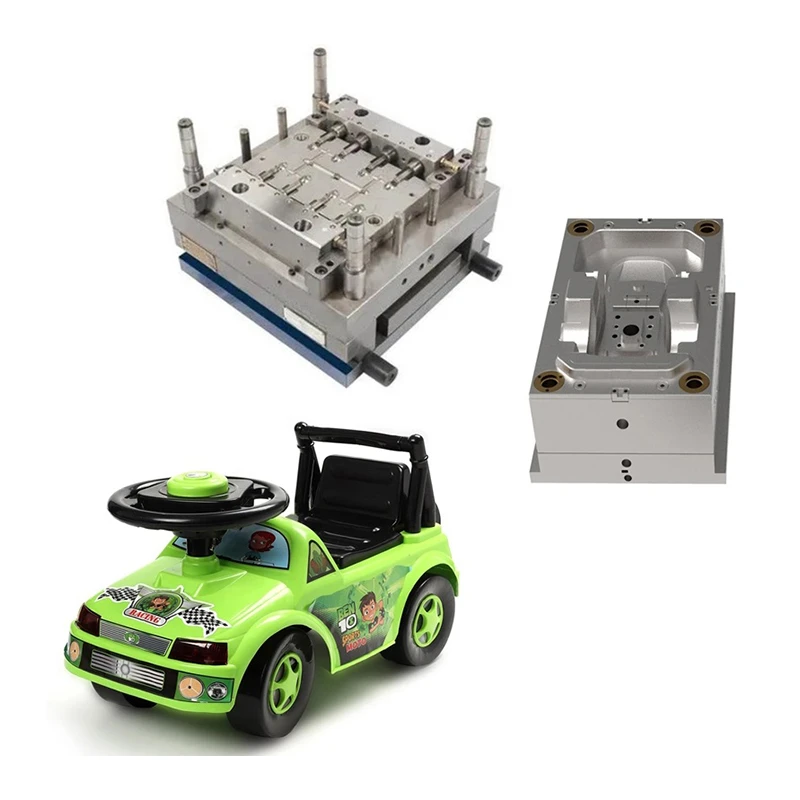
As a supplier of baby car molds, I've seen firsthand how crucial it is to store these molds properly. A well - maintained mold not only lasts longer but also ensures the quality of the baby cars and related products produced. Let's dive into the best practices for storing baby car molds.
Why Proper Storage Matters
First off, I just want to stress why proper storage is a big deal. Baby car molds are pretty expensive to make. They go through a lot during the production process, dealing with high temperatures, pressure, and all kinds of wear and tear. If you don't store them right, they can get damaged. That damage can mess up the shape of the baby cars you're making, lead to poor - quality products, and even cause the mold to break down completely.
And when you're making products for kids, like Children Electrical Car Mould, Toy Car Mold, or Child Safety Seat Mold, quality and safety are super important. So, taking good care of the molds is a must.

Pre - storage Cleaning
Before you even think about storing your baby car mold, you need to give it a thorough cleaning. During the manufacturing process, the mold gets covered with all sorts of stuff like plastic residues, lubricants, and dirt. If you don't clean it off, these substances can cause corrosion over time.
I usually use a mild detergent and warm water to start the cleaning. You can use a soft - bristle brush to gently scrub away the dirt, especially in the nooks and crannies of the mold. After that, rinse it well to make sure there's no detergent left on the surface.
Once it's rinsed, dry the mold completely. You can use a clean, dry cloth to wipe it down, but I also recommend using compressed air to blow out any water that might be hiding in small holes or channels. This helps prevent rust from forming.
Rust Prevention
Rust is the enemy of any metal mold, and baby car molds are no exception. After the mold is clean and dry, you should apply a rust - preventive coating. There are a bunch of rust - preventive sprays and oils available on the market.
I like to use a thin, even layer of rust - preventive oil. Just spray it on the mold's surface and then use a clean cloth to spread it evenly. Make sure you get into all the areas, especially the edges and corners where rust can start easily.
If your storage area is in a humid environment, you might want to consider using moisture - absorbing packets as well. You can place them near the mold to reduce the humidity around it and keep rust at bay.
Storage Location
The place where you store your baby car mold matters a lot. You want a location that's clean, dry, and well - ventilated. Avoid areas that are prone to flooding or have a lot of dust.
A climate - controlled storage unit is ideal. If you can keep the temperature and humidity stable, it'll significantly reduce the risk of mold damage. The temperature should be around 20 - 25 degrees Celsius (68 - 77 degrees Fahrenheit), and the relative humidity should be between 30% - 50%.
Also, make sure the storage area is protected from direct sunlight. Sunlight can heat up the mold and cause thermal expansion and contraction, which can lead to warping over time.
Stacking and Support
When it comes to stacking baby car molds, you need to be careful. Don't stack too many molds on top of each other, as this can put too much pressure on the lower molds and cause them to deform.
If you do stack them, make sure to use proper support structures. You can use wooden pallets or custom - made racks. Place a soft, protective material like rubber pads between the molds to cushion them and prevent scratches.
For larger or heavier molds, it's better to store them individually on sturdy racks. This ensures that they're properly supported and reduces the risk of damage.
Regular Inspections
Even when your baby car molds are in storage, you can't just forget about them. You should conduct regular inspections, maybe once a month or so. Check for any signs of rust, corrosion, or physical damage.
If you notice any issues during the inspection, address them right away. For minor rust spots, you can use a rust remover and then re - apply the rust - preventive coating. For more serious damage, you might need to have the mold repaired by a professional.
Record - Keeping
It's a good idea to keep records of your mold storage. Write down details like when the mold was cleaned, when the rust - preventive coating was applied, and the results of each inspection.
This record - keeping not only helps you keep track of the mold's condition but also comes in handy if you need to troubleshoot any problems in the future.
Protection During Transport
If you need to move your baby car mold from one place to another, you have to take extra precautions. Wrap the mold in a thick, protective material like bubble wrap or foam. Secure it in a sturdy crate or container to prevent any movement during transport.
Use shock - absorbing materials inside the crate to minimize the impact of any bumps or vibrations. And make sure the crate is properly labeled so that it's handled with care.
Conclusion
Properly storing baby car molds is a multi - step process that requires attention to detail. From pre - storage cleaning to regular inspections, every step plays a crucial role in keeping your molds in good condition.
If you're in the market for high - quality baby car molds or need advice on mold storage, don't hesitate to reach out. We're here to help you ensure the success of your baby car production. Whether you're interested in Children Electrical Car Mould, Toy Car Mold, or Child Safety Seat Mold, we've got you covered. Let's have a chat and see how we can work together to meet your needs.
References
- "Industrial Mold Maintenance Handbook" - A comprehensive guide on mold care and storage.
- Various industry conferences and seminars on mold manufacturing and maintenance.
- Personal experience as a baby car mold supplier over the years.