

Hey there! As a Toy Car Mold supplier, I've been in the game for quite a while, and I know how crucial it is to design a toy car mold that allows for easy demolding. In this blog, I'm gonna share some tips and tricks that I've picked up over the years to help you create molds that make the demolding process a breeze.
Understanding the Basics of Demolding
Before we dive into the design process, let's quickly go over what demolding is and why it's so important. Demolding is the process of removing the finished toy car from the mold. If the mold isn't designed properly, the toy car can get stuck, which can lead to damage to the part or the mold itself. This not only wastes time and materials but can also increase production costs.
Key Design Factors for Easy Demolding
1. Draft Angles
Draft angles are one of the most important aspects of mold design for easy demolding. A draft angle is a slight taper on the vertical walls of the mold cavity. This taper allows the part to be easily removed from the mold without getting stuck. The general rule of thumb is to have a draft angle of at least 1 - 3 degrees, depending on the material and the complexity of the part.
For example, if you're using a plastic material that has a high shrinkage rate, you might need a larger draft angle to compensate for the shrinkage. On the other hand, if the part has a simple shape, a smaller draft angle might be sufficient.
2. Surface Finish
The surface finish of the mold also plays a big role in demolding. A smooth surface finish reduces friction between the part and the mold, making it easier to remove the part. You can achieve a smooth surface finish by using polishing techniques or by applying a mold release agent.

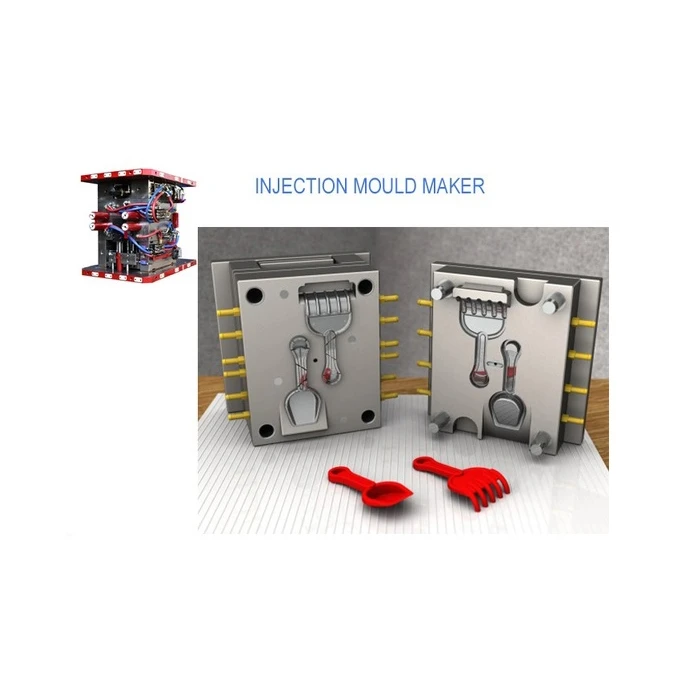
However, be careful not to make the surface too smooth, as this can sometimes cause the part to stick due to suction. A slightly textured surface can actually help break the suction and make demolding easier.
3. Undercuts
Undercuts are areas on the part that prevent it from being removed from the mold in a straight pull. These can be a real headache when it comes to demolding. To avoid undercuts, you can use side actions or slides in your mold design. Side actions are mechanisms that move perpendicular to the main mold opening direction, allowing you to create parts with undercuts.
Another option is to redesign the part to eliminate the undercuts. This might require some creativity, but it can save you a lot of time and money in the long run.
4. Ejection System
The ejection system is responsible for pushing the finished part out of the mold. A well - designed ejection system is essential for easy demolding. There are several types of ejection systems, including ejector pins, ejector sleeves, and air ejection.
Ejector pins are the most common type of ejection system. They are simple and effective, but they can leave marks on the part. Ejector sleeves are used for parts with holes or bosses, and they provide a more even ejection force. Air ejection uses compressed air to blow the part out of the mold, which is great for delicate parts.
Material Selection
The material you choose for your toy car mold can also affect the demolding process. Some materials are more prone to sticking than others. For example, plastics with a high viscosity can be more difficult to demold compared to low - viscosity plastics.
When selecting a material for your toy car, consider its shrinkage rate, hardness, and chemical properties. You want a material that will shrink evenly during cooling and won't bond to the mold surface.
Designing for Manufacturing
In addition to the design factors mentioned above, it's also important to design your toy car mold with the manufacturing process in mind. For example, if you're using an injection molding process, you need to make sure that the mold can withstand the high pressures and temperatures involved.
You also need to consider the number of cavities in your mold. A multi - cavity mold can increase production efficiency, but it also requires more careful design to ensure that all the parts are ejected evenly.
Testing and Iteration
Once you've designed your toy car mold, it's important to test it before going into full - scale production. You can use a prototype mold to test the demolding process and make any necessary adjustments.
During the testing phase, pay close attention to how the part is being ejected from the mold. Look for any signs of sticking, damage, or uneven ejection. Based on the test results, you can make changes to the mold design, such as adjusting the draft angles or the ejection system.
Conclusion
Designing a toy car mold for easy demolding is a combination of science and art. By considering factors such as draft angles, surface finish, undercuts, ejection systems, and material selection, you can create a mold that makes the demolding process smooth and efficient.
If you're in the market for a high - quality Toy Car Mold, Plastic Toy Mould, or Plastic Toy Injection Mould, don't hesitate to reach out. We're here to help you with all your toy car mold needs. Whether you have a specific design in mind or need some guidance on creating the perfect mold, we've got the expertise and experience to get the job done right. Let's work together to bring your toy car ideas to life!
References
- "Injection Molding Handbook" by O. Olszewski
- "Mold Design for Plastics" by R. A. Malloy