

Hey there! I'm a supplier of Plastic Toy Mould, and today I wanna share some tips on how to design a side action mechanism in a plastic toy mould. This is a crucial part of the mould - making process, especially when you're dealing with toys that have complex shapes or undercuts.
Understanding the Basics of Side Action Mechanisms
First things first, let's talk about what a side action mechanism is. In simple terms, it's a part of the mould that moves sideways during the mould - opening and closing process. This is necessary when your toy has features like holes, grooves, or other details that are perpendicular to the main parting line of the mould. Without a side action mechanism, you wouldn't be able to eject the toy from the mould properly.
There are different types of side action mechanisms, such as slide blocks, angle pins, and hydraulic cylinders. Each type has its own advantages and is suitable for different situations. For example, slide blocks are great for small - scale side movements, while hydraulic cylinders can handle more complex and heavy - duty side actions.
Factors to Consider Before Designing
Before you start designing the side action mechanism, there are a few things you need to take into account.
Toy Design
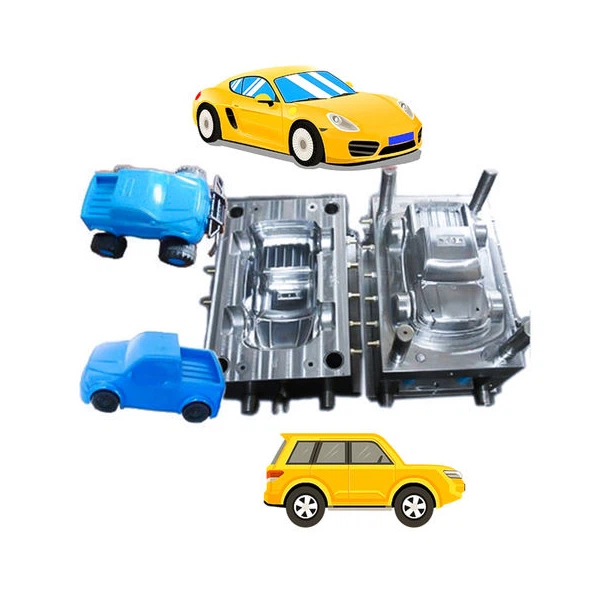
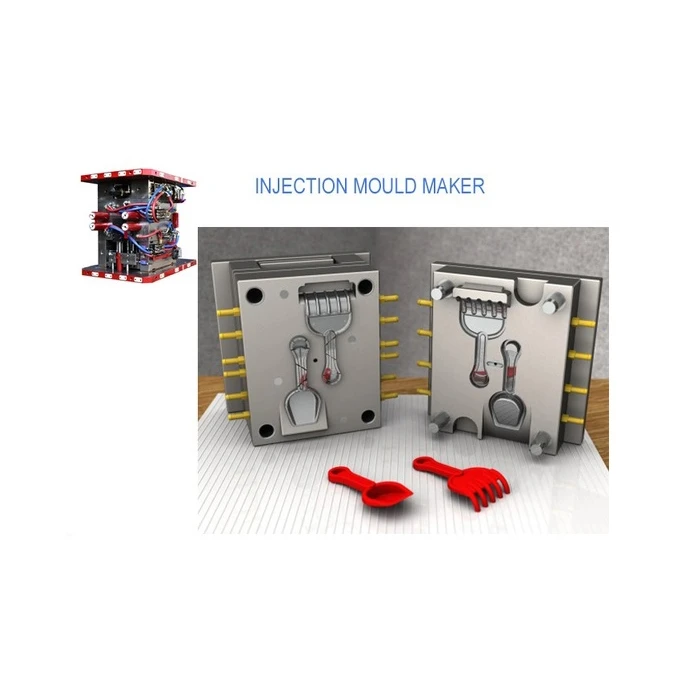
The design of the plastic toy itself is the most important factor. You need to look at the shape, size, and features of the toy. For instance, if the toy has a deep undercut, you'll need a more robust side action mechanism. If you're working on a Baby Car Mold, you might have to deal with things like wheel wells and side doors, which require careful consideration of the side action design.
Material Selection
The material you use for the toy also matters. Different plastics have different shrinkage rates and flow properties. For example, polypropylene has a relatively high shrinkage rate compared to ABS. This means that when designing the side action mechanism, you need to account for how the plastic will shrink around the side action components. If you don't, you might end up with a toy that doesn't fit properly or has defects.
Mould Manufacturing Process
The manufacturing process of the mould itself can influence the side action design. For example, if you're using a high - precision machining process, you can design more complex side action mechanisms. On the other hand, if your manufacturing process has some limitations, you might have to simplify the design to ensure that it can be manufactured accurately.
The Design Process
Now, let's get into the actual design process of the side action mechanism.
Step 1: Analyze the Toy
Take a close look at the plastic toy and identify all the features that require side actions. Mark out the undercuts, holes, and other details on a 3D model or a drawing of the toy. This will give you a clear idea of where the side action mechanisms need to be placed.
Step 2: Choose the Right Type of Side Action
Based on the analysis in step 1, choose the appropriate type of side action mechanism. If the side movement is relatively small and simple, a slide block with an angle pin might be sufficient. However, if you need a more powerful and precise side action, a hydraulic or pneumatic cylinder could be a better choice.
Step 3: Calculate the Forces
You need to calculate the forces involved in the side action. This includes the force required to move the side action component, the force exerted by the plastic during injection, and the force needed to eject the toy. By calculating these forces accurately, you can ensure that the side action mechanism is strong enough to withstand the stresses during the moulding process.
Step 4: Design the Components
Once you've chosen the type of side action and calculated the forces, it's time to design the individual components. This includes the slide blocks, angle pins, guide rails, and any other parts of the side action mechanism. Make sure that the components are designed to fit together precisely and that they can move smoothly.
Step 5: Create a 3D Model
Use a 3D modelling software to create a detailed model of the side action mechanism. This will allow you to visualize how the mechanism works and to check for any potential interference or design flaws. You can also use the 3D model to simulate the mould - opening and closing process to ensure that the side action functions as intended.
Step 6: Test and Optimize
Before you start manufacturing the mould, it's a good idea to build a prototype of the side action mechanism. This will allow you to test its performance and make any necessary adjustments. You can test factors like the smoothness of movement, the accuracy of the side action, and the durability of the components. Based on the test results, you can optimize the design to improve its performance.
Common Challenges and Solutions
Designing a side action mechanism in a plastic toy mould isn't always a smooth ride. Here are some common challenges you might face and how to solve them.
Interference
One of the most common problems is interference between the side action components and other parts of the mould. This can happen if the components are not designed with enough clearance or if there are errors in the 3D model. To solve this problem, you need to carefully check the 3D model for any potential interference and make sure that there is enough space for the components to move freely.
Wear and Tear
The side action components are subject to a lot of wear and tear during the moulding process. This can lead to reduced performance and even failure of the mechanism. To prevent this, you can use high - quality materials for the components and apply appropriate surface treatments, such as hardening or coating, to increase their durability.
Difficulty in Ejection
Sometimes, the toy might get stuck in the side action component during ejection. This can be caused by factors like improper design of the ejection system or excessive friction between the toy and the side action component. To solve this problem, you can improve the design of the ejection system, such as adding more ejector pins or using a different type of ejection mechanism. You can also reduce the friction by applying a lubricant or by modifying the surface finish of the side action component.
Conclusion
Designing a side action mechanism in a plastic toy mould is a complex but rewarding process. By understanding the basics, considering the important factors, following the design process, and solving the common challenges, you can create a high - quality side action mechanism that will help you produce great - looking plastic toys.
If you're in the market for a Plastic Toy Injection Mould or have any questions about side action mechanism design, feel free to reach out. We're here to help you with all your plastic toy mould needs. Whether you're a small business just starting out or a large - scale manufacturer, we can provide you with customized solutions to meet your specific requirements.
References
- "Plastic Injection Molding Handbook" by O. Olszewski
- "Mould Design for Plastics" by R. Crawford