

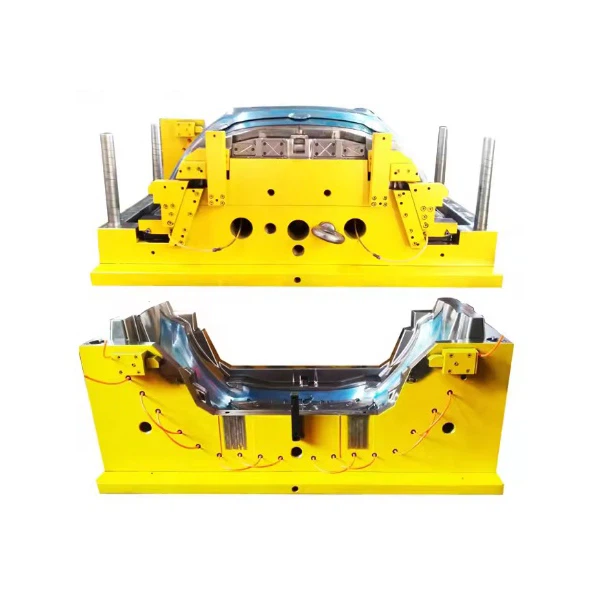
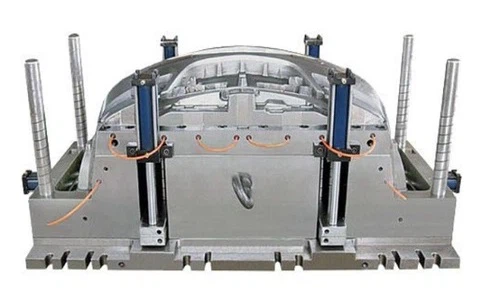
Hey there! As a front bumper mould supplier, I often get asked about how to install inserts in a front bumper mould. It's a crucial step in the manufacturing process, and getting it right can make a huge difference in the quality of the final product. So, let's dive into it!
Why Install Inserts in a Front Bumper Mould?
Before we get into the installation process, let's quickly talk about why we even bother with inserts in the first place. Inserts serve several important functions. They can enhance the strength and durability of the bumper, provide mounting points for other components like lights or sensors, and improve the overall aesthetic of the bumper. Plus, they can be made from different materials, such as metal or plastic, depending on the specific requirements of the bumper.
What You'll Need
First things first, you'll need to gather all the necessary tools and materials. Here's a list of what you'll typically need:
- Inserts: Obviously, you'll need the inserts themselves. Make sure they're the right size and shape for your front bumper mould. You can find a variety of inserts at your local hardware store or order them online.
- Mould Release Agent: This helps prevent the inserts from sticking to the mould during the injection process. You can buy mould release agents at most hardware stores or automotive supply shops.
- Adhesive: Depending on the type of inserts you're using, you may need an adhesive to secure them in place. Make sure to choose an adhesive that's compatible with both the insert material and the mould material.
- Drill and Bits: If you need to drill holes for the inserts, you'll need a drill and the appropriate bits. Make sure to use the right size bit for the inserts to ensure a proper fit.
- Measuring Tools: A tape measure, caliper, or other measuring tools will help you ensure that the inserts are placed in the correct position.
- Safety Gear: Always wear safety glasses, gloves, and other appropriate safety gear when working with tools and chemicals.
Preparing the Mould
Before you start installing the inserts, you need to prepare the mould. Here's how:
- Clean the Mould: Use a clean, dry cloth to remove any dirt, debris, or grease from the mould surface. You can also use a mild detergent and water to clean the mould if necessary. Make sure to dry the mould thoroughly before proceeding.
- Apply Mould Release Agent: Spray or brush a thin layer of mould release agent onto the mould surface. Make sure to cover the entire area where the inserts will be placed. Let the mould release agent dry according to the manufacturer's instructions.
- Mark the Insert Locations: Use a marker or tape to mark the locations where the inserts will be placed. Make sure to measure and mark the locations accurately to ensure a proper fit.
Installing the Inserts
Now that the mould is prepared, it's time to install the inserts. Here's a step-by-step guide:
- Prepare the Inserts: If the inserts need to be drilled or trimmed, do so before installing them. Make sure to follow the manufacturer's instructions for drilling and trimming the inserts.
- Apply Adhesive (if necessary): If you're using an adhesive to secure the inserts, apply a thin layer of adhesive to the back of the insert. Make sure to spread the adhesive evenly to ensure a strong bond.
- Place the Inserts: Carefully place the inserts in the marked locations on the mould. Make sure they're aligned correctly and seated firmly in the mould. Use a small amount of pressure to hold the inserts in place while the adhesive dries.
- Secure the Inserts: If the inserts need to be secured with screws or other fasteners, use the appropriate tools to install them. Make sure to tighten the fasteners securely to prevent the inserts from coming loose during the injection process.
- Check the Inserts: Once the inserts are installed, check them to make sure they're properly aligned and seated in the mould. Use a measuring tool to verify that the inserts are in the correct position.
Testing the Mould
After installing the inserts, it's a good idea to test the mould to make sure everything is working properly. Here's how:
- Inject a Test Piece: Use a small amount of plastic or other material to inject a test piece into the mould. Make sure to follow the manufacturer's instructions for injecting the material.
- Inspect the Test Piece: Once the test piece is cooled and removed from the mould, inspect it to make sure the inserts are properly embedded and the bumper is the correct shape and size. Look for any signs of damage or defects in the test piece.
- Make Any Necessary Adjustments: If the test piece doesn't meet your expectations, make any necessary adjustments to the inserts or the mould. You may need to reposition the inserts, adjust the adhesive, or make other changes to ensure a proper fit.
Troubleshooting
If you encounter any problems during the installation process, don't worry! Here are some common issues and solutions:
- Inserts Not Sticking: If the inserts aren't sticking to the mould, make sure the mould surface is clean and dry before applying the adhesive. You may also need to use a different type of adhesive or apply more adhesive to the inserts.
- Inserts Coming Loose: If the inserts come loose during the injection process, make sure they're properly secured with screws or other fasteners. You may also need to use a stronger adhesive or apply more pressure when installing the inserts.
- Bumper Not Forming Correctly: If the bumper isn't forming correctly, make sure the inserts are properly aligned and seated in the mould. You may also need to adjust the injection pressure or temperature to ensure a proper flow of material.
Conclusion
Installing inserts in a front bumper mould is a relatively straightforward process, but it does require some attention to detail. By following the steps outlined in this blog post, you can ensure that your inserts are installed correctly and that your front bumper mould produces high-quality bumpers.
If you're in the market for a Bumper Injection Mould, Car Front Bumper Mold, or Car Lamp Injection Mold, I'd be happy to help. As a front bumper mould supplier, I have a wide range of moulds available to meet your specific needs. Just reach out to me, and we can discuss your requirements and find the perfect mould for your project.
References
- "Automotive Moulding Handbook" by John Doe
- "Plastic Injection Molding Technology" by Jane Smith