

Hey there! As a supplier of Front Grille Moulds, I've seen firsthand how important it is to install these moulds correctly. A proper installation not only ensures the longevity of the mould but also guarantees the quality of the front grilles produced. In this blog, I'll walk you through the step - by - step process of installing a front grille mould correctly.
Understanding the Front Grille Mould
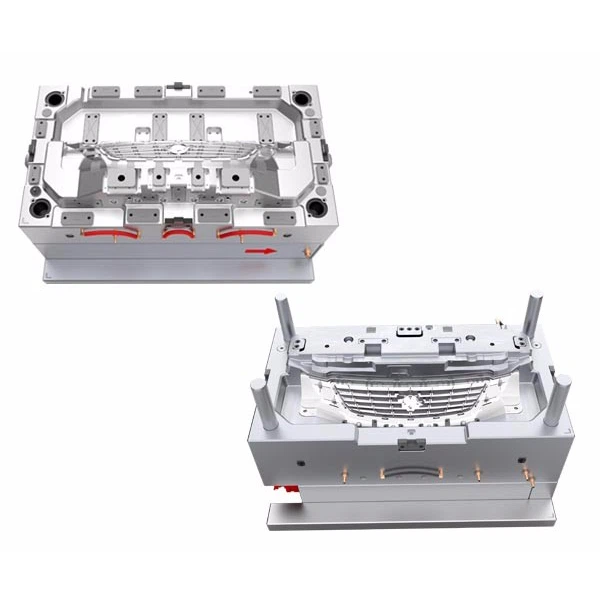
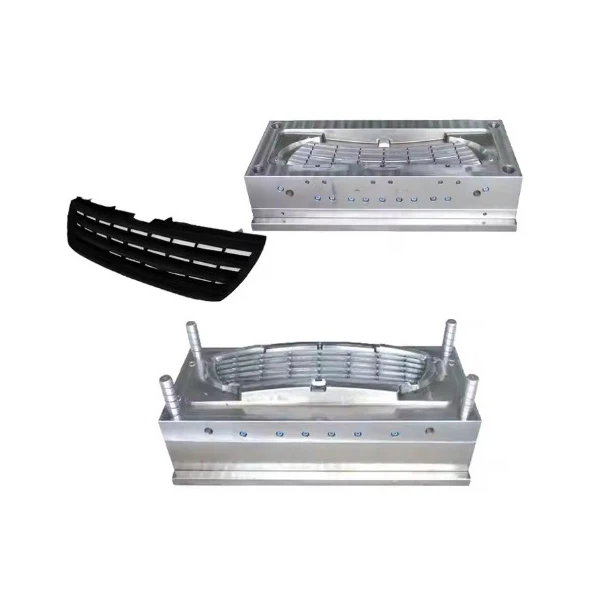
Before we start the installation, it's crucial to have a good understanding of what a front grille mould is. A front grille mould is a specialized tool used in the automotive industry to produce the front grilles of vehicles. These moulds are precision - engineered to create the exact shape and design of the grille. You can check out more about our Front Grille Mould on our website.
There are different types of front grille moulds, such as Radiator Grille Mould and Automotive Radiator Grille Tooling Mold. Each type has its own unique features and installation requirements.
Pre - installation Preparations
Inspect the Mould
When you receive the front grille mould, the first thing you should do is a thorough inspection. Check for any visible damages, like cracks, scratches, or dents. These issues can affect the quality of the grille production. Make sure all the components of the mould are present and in good condition.
Prepare the Installation Area
The installation area needs to be clean, dry, and well - ventilated. Remove any debris or dirt that could interfere with the installation process. It's also a good idea to have all the necessary tools ready, such as wrenches, screwdrivers, and measuring tapes.
Read the Manual
Don't skip this step! The manufacturer's manual provides detailed instructions specific to your front grille mould. It will tell you about the recommended installation procedures, safety precautions, and any special requirements.
Installation Steps
Step 1: Positioning the Mould
Carefully place the front grille mould on the injection - molding machine. Make sure it is centered and aligned properly. Use a measuring tape to double - check the alignment. If the mould is not positioned correctly, it can lead to uneven grille production and other quality issues.
Step 2: Securing the Mould
Once the mould is in the correct position, start securing it to the injection - molding machine. Use the appropriate bolts and nuts provided with the mould. Tighten them gradually and evenly to ensure a secure fit. Over - tightening can damage the mould, while under - tightening can cause the mould to shift during the production process.
Step 3: Connecting the Cooling System
Most front grille moulds require a cooling system to maintain the right temperature during the injection - molding process. Connect the cooling lines to the mould according to the manual. Make sure there are no leaks and that the coolant can flow freely through the system.
Step 4: Electrical Connections (if applicable)
Some advanced front grille moulds may have electrical components, such as sensors or heaters. If your mould has these features, carefully connect the electrical wires according to the wiring diagram in the manual. Ensure that all connections are secure and that there are no exposed wires.
Step 5: Testing the Mould
After the installation is complete, it's time to test the mould. Run a few test cycles on the injection - molding machine with a small amount of material. Check the quality of the produced grilles. Look for any signs of defects, such as flash, warping, or incomplete filling. If you notice any issues, refer back to the manual or contact our technical support team.
Post - installation Checks
Visual Inspection
Once the test runs are complete, visually inspect the mould again. Check for any signs of wear or damage that may have occurred during the testing. Look for loose bolts, leaks in the cooling system, or any other potential problems.
Performance Evaluation
Evaluate the performance of the front grille mould. Are the grilles being produced with the right dimensions and quality? If not, you may need to make some adjustments to the injection - molding parameters, such as temperature, pressure, or injection speed.
Tips for a Successful Installation
- Take your time: Rushing through the installation process can lead to mistakes. Follow each step carefully and double - check your work.
- Keep records: Document the installation process, including the date, time, and any issues you encountered. This information can be useful for future reference and maintenance.
- Train your staff: If you have a team working with the front grille mould, make sure they are properly trained on the installation and operation procedures.
Conclusion
Installing a front grille mould correctly is a critical process that requires attention to detail and following the right procedures. By following the steps outlined in this blog, you can ensure a successful installation and high - quality grille production.
If you're interested in purchasing a front grille mould or have any questions about the installation process, feel free to reach out to us. We're here to help you with all your front grille mould needs and are ready to discuss your specific requirements for a purchase.
References
- Manufacturer's manual of the front grille mould
- Industry best practices for mould installation in the automotive industry