

As a seasoned supplier of Helmet Moulds, I've witnessed firsthand the evolving demands and challenges within the industry. Ensuring the strength of a 3D - printed helmet mould is not merely a technical requirement; it's a critical factor that impacts the quality, safety, and cost - effectiveness of the final helmet products. In this blog post, I'll share some key strategies and insights on how to uphold and enhance the strength of 3D - printed helmet moulds.
Material Selection
The first and most fundamental step in ensuring the strength of a 3D - printed helmet mould is the choice of materials. Different materials possess distinct mechanical properties, and these properties directly influence the durability and strength of the mould.

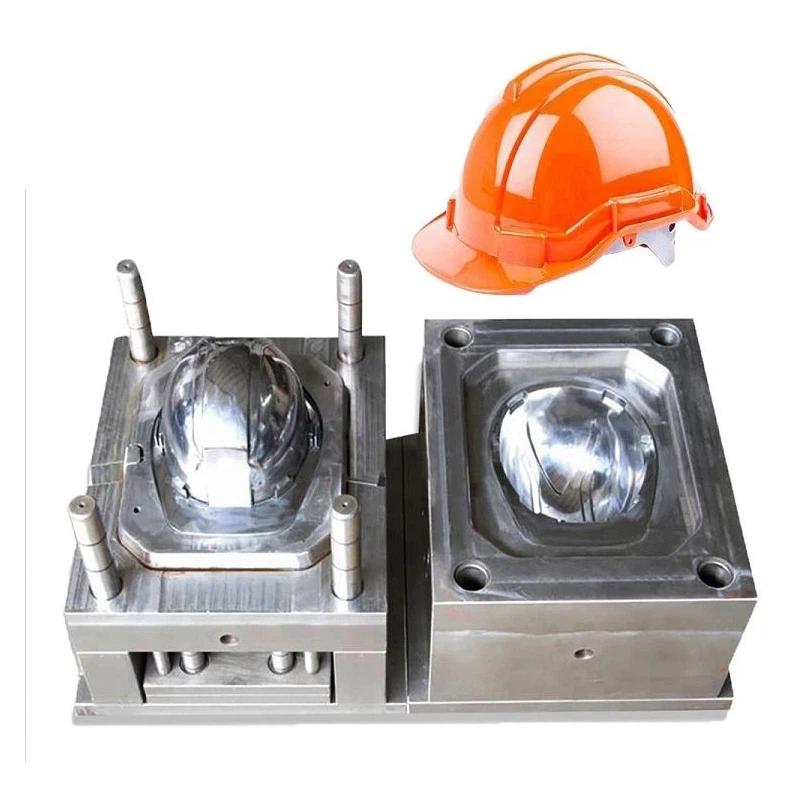
For instance, when dealing with high - impact applications such as Plastic Safety Helmet Mould, materials like ABS (Acrylonitrile Butadiene Styrene) and PC (Polycarbonate) are often excellent choices. ABS is known for its good impact resistance, toughness, and ease of printing. It can withstand a certain amount of stress and deformation without cracking, making it suitable for use in safety helmet production.
PC, on the other hand, offers even higher impact strength and heat resistance. It can endure harsh environments and extreme temperatures, which is crucial when the helmet mould may be exposed to various conditions during the production process. In the case of Motorcycle Helmet Mould, where the helmets need to provide high - level protection, PC - based materials can significantly enhance the strength of the mould.
Another option is fiber - reinforced polymers. Adding fibers such as carbon fiber or glass fiber to the base polymer can greatly improve the mechanical properties of the 3D - printed part. These fibers act as reinforcement, increasing the stiffness and tensile strength of the mould. As a result, the mould can better resist wear and tear from repeated use, as well as the high pressures during the helmet - manufacturing process.
Printing Parameters Optimization
Once the appropriate material is selected, optimizing the 3D printing parameters becomes essential. The printing parameters can have a profound impact on the internal structure and overall strength of the helmet mould.
Layer height is a critical parameter. A smaller layer height generally results in a smoother surface finish and a stronger bond between layers. In the context of helmet moulds, a thinner layer height can enhance the mould's resistance to cracking and delamination. However, it also increases the printing time, so a balance needs to be struck based on the specific requirements of the project.
Infill density is another important factor. The infill is the internal structure of the 3D - printed object. A higher infill density means more material is used inside the mould, which generally leads to greater strength. For helmet moulds, an infill density of 50% - 70% is often recommended, depending on the complexity of the design and the expected stress on the mould.
Printing speed also matters. Printing too fast can cause issues such as poor layer adhesion and uneven material distribution, which can weaken the mould. On the contrary, a slower printing speed allows the material to cool more evenly and fuse properly between layers, thereby increasing the strength of the final product. It's important to experiment with different printing speeds to find the optimal one for each type of material and mould design.
Design Considerations
The design of the helmet mould plays a significant role in its strength. A well - designed mould can distribute stress evenly and reduce the risk of failure.
First, avoid sharp corners and edges in the design. Sharp corners can act as stress concentrators, where stress is more likely to accumulate and cause cracks. Instead, use rounded corners to distribute stress more uniformly throughout the mould.
Second, consider adding ribs or gussets to the design. Ribs and gussets are structural reinforcements that can increase the stiffness and strength of the mould without adding excessive weight. They can be strategically placed in areas where the mould is expected to experience high stress, such as the edges or undercuts.
Additionally, the wall thickness of the mould should be carefully considered. A wall that is too thin may not be strong enough to withstand the pressure during the helmet - manufacturing process, while a wall that is too thick can lead to longer printing times and increased material waste. A consistent wall thickness throughout the mould is generally preferred to ensure uniform strength and to avoid issues such as warping.
Post - Processing Treatments
After the 3D - printed helmet mould is completed, post - processing treatments can further enhance its strength.
One common post - processing method is annealing. Annealing involves heating the printed part to a specific temperature below its melting point and then slowly cooling it. This process relieves internal stresses that may have been introduced during the printing process and can improve the material's crystallinity, resulting in increased strength and toughness.
Another option is coating. Applying a protective coating to the surface of the mould can improve its wear resistance and chemical resistance. For example, a hard - coating can protect the mould from scratches and abrasion, while a chemical - resistant coating can prevent damage from the materials used in the helmet - manufacturing process.
Quality Testing and Monitoring
To ensure the strength of the 3D - printed helmet mould, regular quality testing and monitoring are necessary.
Destructive testing methods, such as tensile testing and impact testing, can be used to evaluate the mechanical properties of the mould. Tensile testing measures the maximum stress a material can withstand before breaking, while impact testing assesses its resistance to sudden impacts. By conducting these tests on sample moulds, we can determine if the mould meets the required strength standards.
Non - destructive testing methods, such as ultrasonic testing and X - ray inspection, can be used to detect internal defects in the mould without damaging it. These methods are useful for identifying hidden cracks or voids that could compromise the strength of the mould.
In addition to testing, continuous monitoring during the production process is also important. By monitoring factors such as temperature, pressure, and material flow, we can detect any potential issues early and take corrective actions to ensure the strength and quality of the helmet mould.
Conclusion
Ensuring the strength of a 3D - printed helmet mould is a multi - faceted process that involves careful material selection, optimization of printing parameters, thoughtful design, appropriate post - processing treatments, and rigorous quality testing and monitoring. As a Helmet Mould supplier, we are committed to providing high - strength moulds that meet the diverse needs of our customers.
Whether you are in the market for Plastic Safety Helmet Mould, Motorcycle Helmet Mould, or Safety Helmet Mould, we are here to offer our expertise and solutions. If you have any questions or are interested in starting a procurement discussion, feel free to reach out to us.
References
- Gibson, I., Rosen, D. W., & Stucker, B. (2015). Additive Manufacturing Technologies: 3D Printing, Rapid Prototyping, and Direct Digital Manufacturing. Springer.
- Chua, C. K., & Leong, K. F. (2003). Rapid Prototyping: Principles and Applications. World Scientific Publishing.
- ASTM International. (2019). Standard Test Methods for Tensile Properties of Plastics. ASTM D638 - 14.