

Determining the appropriate injection pressure for a front bumper mould is a crucial aspect in the manufacturing process of automotive parts. As a front bumper mould supplier, we understand the significance of getting this parameter right to ensure high - quality production. This blog post will delve into the factors that influence injection pressure and provide a step - by - step guide on how to determine it.
Factors Influencing Injection Pressure
1. Material Properties
The type of plastic material used for the front bumper has a significant impact on the required injection pressure. Different plastics have varying viscosities. For instance, polypropylene (PP), a commonly used material for bumpers, has a relatively low viscosity compared to some engineering plastics like polycarbonate (PC). Low - viscosity materials can flow more easily, so they require less injection pressure to fill the mould cavity. On the other hand, high - viscosity materials need higher injection pressures to ensure complete filling. The molecular weight of the plastic also matters; higher molecular weight polymers usually have higher viscosities and thus demand more pressure for injection.
2. Mould Design
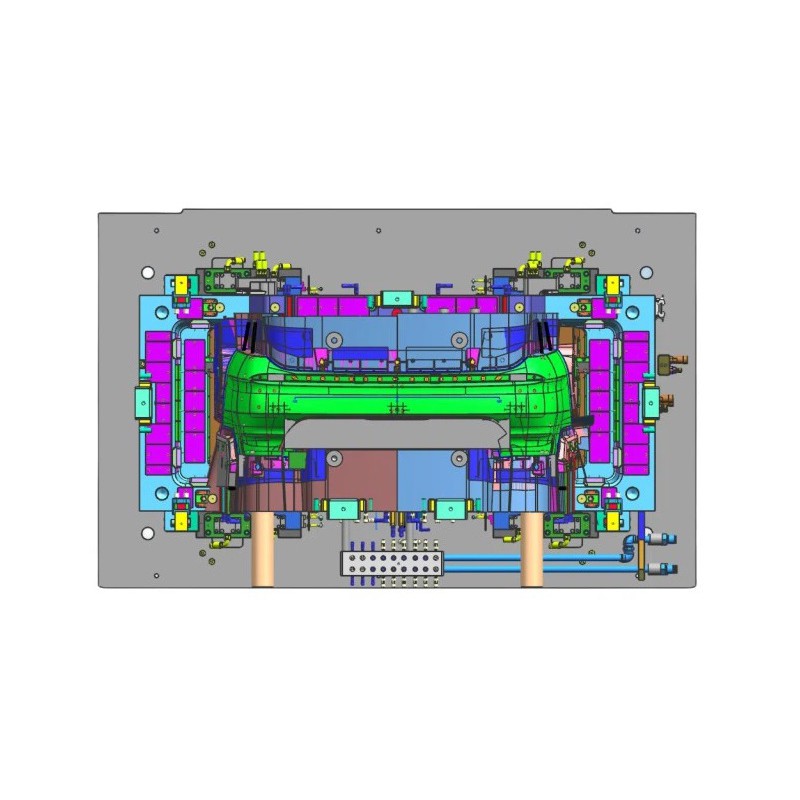
The complexity of the front bumper mould design plays a vital role. A mould with thin - walled sections, intricate geometries, or long flow paths will require higher injection pressures. For example, if the front bumper has a lot of small ribs or detailed features, the plastic needs to flow into these narrow spaces, which requires more force. The number and location of gates in the mould also affect the injection pressure. A well - designed gating system can help distribute the plastic evenly and reduce the overall pressure needed. If the gates are too small or poorly placed, it can cause high pressure drops and lead to incomplete filling or other defects.
3. Part Dimensions
The size and shape of the front bumper itself are important factors. Larger bumpers generally require higher injection pressures because the plastic has to flow over a greater distance to fill the entire mould cavity. Additionally, the thickness of the bumper can influence the pressure. Thicker parts may take longer to fill and may need more pressure to ensure proper packing and consolidation of the plastic material.
4. Machine Characteristics
The injection moulding machine used also has an impact on the injection pressure. The maximum pressure capacity of the machine is a limiting factor. If the required injection pressure exceeds the machine's capacity, it will not be able to produce the part correctly. The screw diameter and the injection speed of the machine can also affect the pressure. A larger screw diameter can generate more pressure, while the injection speed can influence the pressure build - up. Faster injection speeds may require higher pressures to maintain the flow rate.
Step - by - Step Guide to Determine Injection Pressure
1. Material Selection and Analysis
First, select the appropriate plastic material for the front bumper based on its requirements such as strength, impact resistance, and cost. Then, obtain the material's data sheet from the supplier, which usually contains information about the recommended injection pressure range. This range serves as a starting point for further calculations. For example, if the data sheet for a particular grade of PP suggests an injection pressure range of 80 - 120 MPa, we can start our process within this interval.
2. Mould Flow Analysis
Use mould flow analysis software to simulate the injection moulding process. Input the mould design, including the cavity geometry, gate locations, and runner system, as well as the material properties into the software. The software will calculate the flow path of the plastic, the pressure distribution, and the filling time. It can predict any potential problems such as air traps, weld lines, or incomplete filling. Based on the analysis results, the software will recommend an appropriate injection pressure. This step is highly accurate as it takes into account the complex interactions between the material and the mould design.
3. Initial Trial Runs
Once we have an estimated injection pressure from the mould flow analysis, conduct initial trial runs on the injection moulding machine. Start with the lower end of the estimated pressure range and gradually increase the pressure if necessary. Monitor the quality of the produced front bumpers. Look for signs such as short shots (incomplete filling), flash (excess plastic at the mould parting line), or warping. If there are short shots, it indicates that the pressure is too low, and we need to increase it. If there is excessive flash, the pressure may be too high.
4. Adjustment and Optimization
Based on the results of the trial runs, make adjustments to the injection pressure. Keep refining the pressure until the best - quality front bumpers are produced. This may involve several iterations of trial and error. Also, consider other process parameters such as the injection speed, cooling time, and holding pressure, as they can interact with the injection pressure. For example, increasing the injection speed may allow for a slightly lower injection pressure while still achieving complete filling.
Importance of Correct Injection Pressure
1. Product Quality
The right injection pressure is essential for producing high - quality front bumpers. It ensures that the plastic fills the entire mould cavity, resulting in a bumper with the correct shape and dimensions. A proper pressure also helps to eliminate defects such as air bubbles, voids, and weld lines, which can weaken the bumper and affect its appearance.
2. Production Efficiency
Determining the optimal injection pressure can improve production efficiency. If the pressure is too high, it can cause excessive wear on the mould and the injection moulding machine, leading to increased maintenance costs and downtime. On the other hand, if the pressure is too low, it can result in longer cycle times due to incomplete filling and the need for re - processing. By setting the correct pressure, we can achieve consistent production with minimal waste and high output.
Suggested Solutions for Different Scenarios
Low - Pressure Scenarios
If the injection pressure is too low and causing short shots, first check the mould temperature. A lower mould temperature can increase the viscosity of the plastic, making it harder to flow. Increasing the mould temperature within the recommended range of the material can sometimes solve the problem. Also, check the gate and runner system for any blockages or restrictions. Clearing these can improve the flow of the plastic and reduce the need for high pressure.
High - Pressure Scenarios
When the injection pressure is too high, look for areas of the mould where there may be excessive resistance to flow. This could be due to tight clearances or sharp corners. Modifying the mould design in these areas can reduce the pressure required. Consider changing the gate size or location to improve the flow pattern and distribute the plastic more evenly, thereby lowering the pressure.
Conclusion
Determining the injection pressure for a front bumper mould is a complex but crucial process that requires careful consideration of material properties, mould design, part dimensions, and machine characteristics. By following the steps outlined in this blog post, including material analysis, mould flow simulation, trial runs, and adjustment, we can ensure the production of high - quality front bumpers with optimal efficiency.
As a front bumper mould supplier, we are committed to providing our customers with the best - in - class moulds and technical support. If you are in the market for Compression Molds For Automotive, Rear Bumper Mould or Car Front Bumper Mold, we invite you to contact us for further discussion and procurement. We have a team of experts who can assist you in every step of the process, from mould design to injection pressure determination.
References
- "Injection Molding Handbook" by O. Olajide
- "Plastics Processing Technology" by M. Xanthos
- Technical data sheets from plastic material suppliers