

As a front bumper mould supplier, I often receive inquiries from clients about how to calculate the cooling time for a front bumper mould. Cooling time is a crucial factor in the injection - molding process, as it directly affects the production cycle, part quality, and overall efficiency. In this blog, I'll share some insights on how to calculate the cooling time for a front bumper mould.
Understanding the Importance of Cooling Time
Before delving into the calculation methods, it's essential to understand why cooling time matters. In injection molding, molten plastic is injected into a mold cavity. Once the plastic is in place, it needs to cool and solidify to take the shape of the mold. If the cooling time is too short, the part may not fully solidify, leading to issues such as warping, shrinkage, and poor dimensional accuracy. On the other hand, if the cooling time is too long, it will increase the production cycle time, reducing productivity and increasing costs.
Factors Affecting Cooling Time
Several factors influence the cooling time of a front bumper mould:
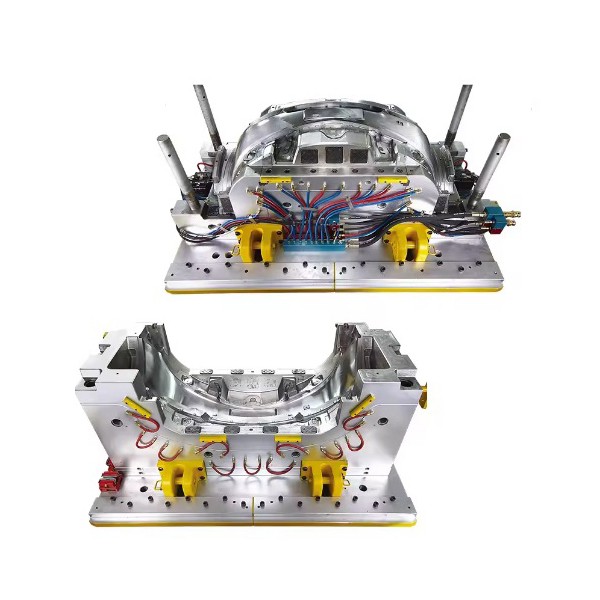
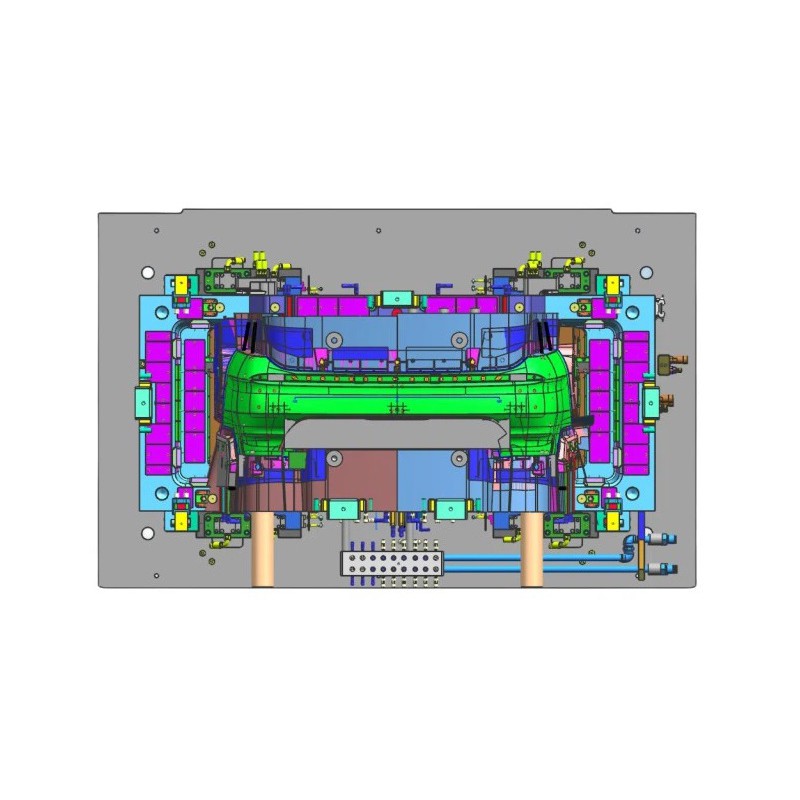
- Material Properties: Different plastics have different thermal properties, such as thermal conductivity, specific heat, and melting point. For example, materials with high thermal conductivity will cool faster than those with low thermal conductivity. Commonly used plastics for front bumpers, like polypropylene (PP), have their own unique cooling characteristics.
- Part Thickness: Thicker parts take longer to cool than thinner ones. The front bumper usually has varying thicknesses in different areas, and the thickest section will determine the overall cooling time.
- Mold Design: The design of the mold, including the layout of cooling channels, their diameter, and distance from the cavity surface, significantly affects the cooling efficiency. Well - designed cooling channels can ensure uniform cooling and reduce the cooling time.
- Coolant Temperature and Flow Rate: The temperature and flow rate of the coolant (usually water) circulating through the cooling channels play a vital role. A lower coolant temperature and higher flow rate can enhance the heat transfer rate and shorten the cooling time.
Calculation Methods
Analytical Method
One of the simplest ways to estimate the cooling time is by using an analytical formula. For a semi - infinite slab of plastic (a simplified model for the part in the mold), the cooling time (t_c) can be calculated using the following formula:
[t_c=\frac{\rho C_p (T_m - T_e)}{h (T_m - T_c)}]
where:
- (\rho) is the density of the plastic ((kg/m^3))
- (C_p) is the specific heat of the plastic ((J/kg\cdot K))
- (T_m) is the melting temperature of the plastic ((^{\circ}C))
- (T_e) is the ejection temperature of the part ((^{\circ}C))
- (h) is the heat transfer coefficient between the plastic and the mold ((W/m^2\cdot K))
- (T_c) is the coolant temperature ((^{\circ}C))
However, this formula has limitations as it assumes a simple geometry and uniform heat transfer, which is not always the case for a complex front bumper part.
Numerical Simulation Method
A more accurate way to calculate the cooling time is through numerical simulation. Software such as Moldflow can simulate the entire injection - molding process, including the cooling stage. Here's a general step - by - step process for using numerical simulation:
- Model Creation: Create a 3D model of the front bumper part and the mold in a CAD software. The model should include all the details, such as the part geometry, cooling channels, and mold material.
- Material Selection: Select the appropriate plastic material and mold material in the simulation software. The software has a database of material properties, which are used for the calculation.
- Boundary Conditions Setup: Define the boundary conditions, such as the initial temperature of the plastic, coolant temperature, and flow rate.
- Simulation Run: Run the simulation to obtain the temperature distribution in the part and mold over time. The software will calculate the cooling time based on the time when the part reaches the ejection temperature.
Empirical Method
In practice, many manufacturers also rely on empirical data and past experience. By analyzing the cooling times of similar front bumper moulds and parts, they can develop a set of rules of thumb. For example, they may know that for a certain type of plastic and mold design, the cooling time per millimeter of part thickness is approximately a certain value.
Optimizing Cooling Time
Once the cooling time is calculated, it's important to optimize it to improve the production efficiency. Here are some ways to do it:
- Improve Mold Design: Redesign the cooling channels to ensure better heat transfer. For example, use a baffle system in the cooling channels to increase the turbulence of the coolant and enhance the heat transfer rate.
- Select the Right Coolant: Choose a coolant with appropriate properties. In some cases, additives can be added to the coolant to improve its heat transfer performance.
- Control Process Parameters: Adjust the injection temperature, coolant temperature, and flow rate to find the optimal combination for the shortest cooling time without sacrificing part quality.
Conclusion
Calculating the cooling time for a front bumper mould is a complex process that requires considering multiple factors. Whether using analytical methods, numerical simulations, or empirical data, the goal is to find the right balance between cooling time and part quality. As a Front Bumper Mould Supplier, we have extensive experience in designing and manufacturing front bumper moulds with efficient cooling systems. Our Car Front Bumper Mold and Rear Bumper Mould are designed to meet the highest standards of quality and performance.
If you are interested in our front bumper moulds or need more information on cooling time calculation and optimization, please feel free to contact us for a procurement discussion. We are committed to providing you with the best solutions for your injection - molding needs.
References
- "Injection Molding Handbook" by O. Olsson, P. Wickman, and B. Ranby
- "Mold Design for Injection Molding" by R. A. Malloy