

As a supplier of Rear Bumper Moulds, I am often asked about the installation methods of these essential tools in the automotive manufacturing process. In this blog post, I will delve into the different installation methods of rear bumper moulds, providing you with a comprehensive understanding of this crucial topic.
Understanding Rear Bumper Moulds
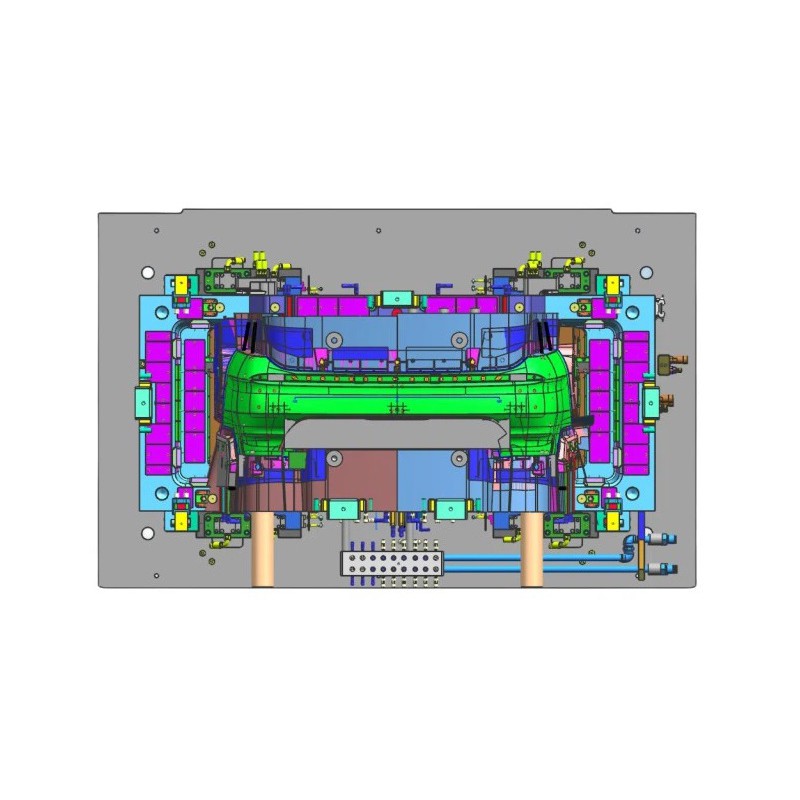
Before we discuss the installation methods, it's important to understand what rear bumper moulds are. Rear bumper moulds are used to create the rear bumpers of vehicles. These moulds are typically made from high - strength materials such as steel or aluminum and are designed to withstand the high pressures and temperatures involved in the manufacturing process. Rear Bumper Mould come in various shapes and sizes, depending on the design requirements of the vehicle.
Types of Rear Bumper Mould Installation
There are mainly two types of installation methods for rear bumper moulds: injection moulding installation and compression moulding installation.
Injection Moulding Installation
Injection moulding is one of the most common methods for manufacturing rear bumpers. The installation process for injection moulds involves several key steps:
1. Machine Preparation
First, the injection moulding machine needs to be prepared. This includes checking the machine's temperature control system, hydraulic system, and clamping force. The temperature of the machine's barrel and nozzle should be set according to the type of plastic material used for the bumper. For example, if polypropylene is used, the barrel temperature might be set between 200 - 230°C.
2. Mould Mounting
The rear bumper mould is then carefully mounted onto the injection moulding machine. This requires aligning the mould with the machine's clamping unit. The mould is usually secured using bolts or clamps. It's crucial to ensure that the mould is properly centered and tightly fixed to prevent any movement during the injection process.
3. Connection of Cooling and Heating Systems
Most rear bumper injection moulds have cooling and heating channels. The cooling system is used to rapidly cool the plastic after injection, while the heating system helps to maintain the proper temperature during the injection process. These systems need to be connected to the corresponding equipment on the injection moulding machine. The cooling water should flow smoothly through the channels to ensure uniform cooling of the bumper.
4. Testing and Calibration
After the mould is installed and the systems are connected, a test run is conducted. A small amount of plastic is injected into the mould to check for any leaks, proper filling of the cavity, and the quality of the part produced. If there are any issues, adjustments are made to the machine settings, such as the injection speed, pressure, or temperature.
Bumper Injection Mould are known for their ability to produce high - quality, detailed rear bumpers with a smooth surface finish. They are suitable for large - scale production due to their relatively fast cycle times.
Compression Moulding Installation
Compression moulding is another method for manufacturing rear bumpers, especially for some types of composite materials. The installation process for compression moulds has its own characteristics:
1. Press Preparation
The compression press needs to be prepared first. This includes checking the press's platens for flatness and parallelism. The press should also be calibrated to ensure accurate application of pressure. The temperature of the platens is set according to the requirements of the material. For example, if a thermosetting composite is used, the platens might be heated to around 150 - 180°C.
2. Mould Placement
The compression mould for the rear bumper is placed on the lower platen of the press. The mould should be positioned precisely to ensure proper alignment. Some compression moulds have alignment pins or guides to help with this process.
3. Material Loading
Before closing the press, the pre - measured amount of material is placed in the mould cavity. The material can be in the form of a pre - formed sheet or a bulk material. The way the material is loaded affects the final quality of the bumper.
4. Press Closing and Curing
The press is then closed, applying the required pressure to compress the material in the mould. The material is held under pressure for a specific period to allow it to cure. This curing time depends on the type of material and the thickness of the bumper. After curing, the press is opened, and the finished rear bumper is removed from the mould.
Compression Molds For Automotive are often used when high - strength and durability are required. They can handle a wider range of materials, including composites, which can offer better performance in terms of impact resistance.

Factors Affecting Installation
Several factors can affect the installation process of rear bumper moulds:
Mould Design
The design of the rear bumper mould plays a significant role. Complex mould designs with intricate features may require more precise installation and alignment. For example, a mould with undercuts or side actions needs to be installed in a way that allows for proper operation of these mechanisms.
Material Properties
The type of material used for the bumper also affects the installation. Different materials have different melting points, shrinkage rates, and flow properties. These properties need to be considered when setting the machine parameters during the installation process.
Machine Compatibility
The compatibility between the mould and the injection or compression machine is crucial. The size, clamping force, and other specifications of the machine should match the requirements of the mould. An incompatible machine can lead to poor part quality or even damage to the mould.
Quality Control During Installation
Quality control is an essential part of the rear bumper mould installation process. Here are some key aspects:
Visual Inspection
Before and after installation, a visual inspection of the mould is conducted. This includes checking for any damage, such as cracks or scratches on the mould surface. Any defects should be repaired or the mould should be replaced if necessary.
Dimensional Checks
The dimensions of the installed mould need to be checked to ensure they meet the design requirements. This can be done using measuring tools such as calipers or coordinate measuring machines (CMM). Accurate dimensions are crucial for producing rear bumpers that fit correctly on the vehicle.
Process Monitoring
During the test runs, the injection or compression process is closely monitored. Parameters such as pressure, temperature, and cycle time are recorded. Any abnormal changes in these parameters can indicate potential issues with the installation or the machine.
Conclusion
The installation method of rear bumper moulds is a complex but crucial process in the automotive manufacturing industry. Whether it's injection moulding or compression moulding, each method has its own set of steps and requirements. By understanding these installation methods and taking into account the various factors that affect them, manufacturers can ensure the production of high - quality rear bumpers.
If you are in the automotive industry and are looking for high - quality Rear Bumper Mould, we are here to provide you with the best solutions. Our moulds are designed and manufactured with the latest technology and highest standards. We welcome you to contact us for further discussions on your specific requirements and to explore the possibilities of cooperation.
References
- "Plastic Injection Molding Handbook" by O. Olszewski
- "Compression Molding Technology" by C. T. Yeh