

As a professional bumper mould supplier, I understand the significance of maintaining bumper moulds to ensure their longevity, performance, and cost - effectiveness. In this blog, I'll share some essential tips on how to maintain a bumper mould.
Regular Cleaning
One of the most fundamental steps in bumper mould maintenance is regular cleaning. During the injection or compression molding process, residues such as plastic polymers, additives, and lubricants can accumulate on the mould surface. Over time, these residues can cause surface defects on the molded bumpers, such as uneven texture, discoloration, or even dimensional inaccuracies.
To clean the bumper mould, first, use a soft - bristle brush to remove loose debris. For more stubborn residues, a suitable cleaning solvent can be applied. However, it's crucial to choose a solvent that won't damage the mould material. For example, if the mould is made of steel, avoid using solvents that are highly corrosive. After applying the solvent, gently wipe the mould surface with a clean, lint - free cloth.
It's recommended to clean the mould after a certain number of production cycles. The exact frequency depends on factors such as the type of plastic used, the complexity of the mould design, and the production environment. Generally, for high - volume production, cleaning every 100 - 200 cycles is a good practice.
Rust Prevention
Bumper moulds are often made of metal, typically steel, which is prone to rust. Rust can not only damage the mould surface but also affect the quality of the molded parts. To prevent rust, it's important to keep the mould dry at all times. After cleaning, make sure to thoroughly dry the mould using compressed air or a clean, dry cloth.
Applying a rust - preventive coating is another effective measure. There are various rust - preventive products available on the market, such as anti - rust oils and sprays. These coatings form a protective layer on the mould surface, preventing moisture and oxygen from coming into contact with the metal. When applying the coating, ensure that it covers all areas of the mould, including hard - to - reach corners and cavities.
Inspection and Repair
Regular inspection is essential for detecting any potential issues with the bumper mould early. Inspect the mould for signs of wear, such as scratches, dents, or erosion on the surface. Check the moving parts of the mould, such as slides, ejector pins, and cores, to ensure they are functioning properly. Any misalignment or sticking of these parts can lead to production problems and reduced mould lifespan.
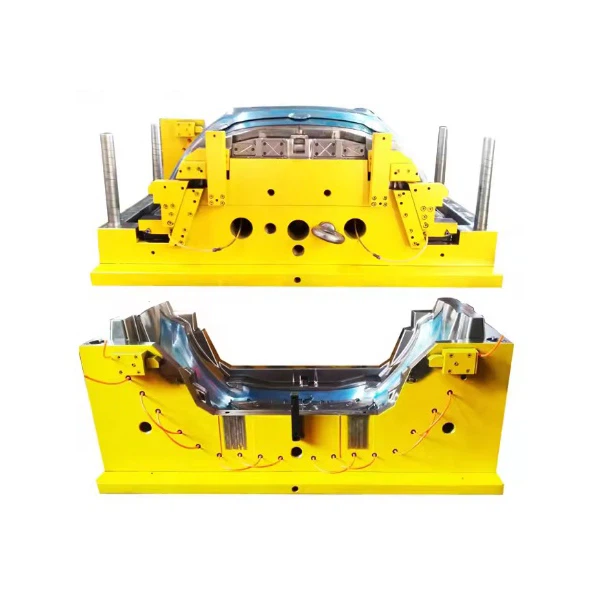
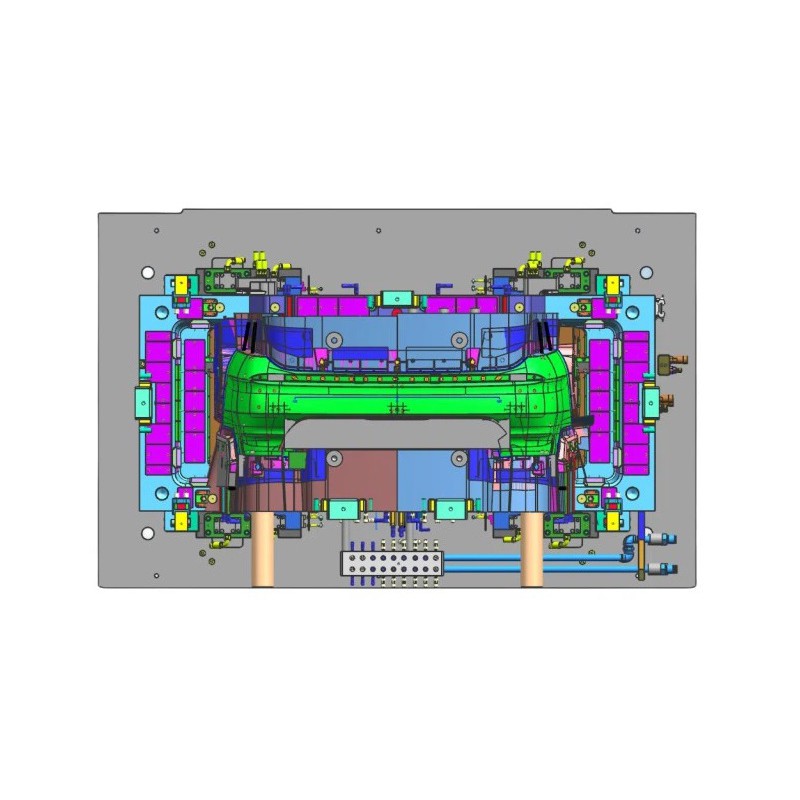
If any defects are found during the inspection, they should be repaired immediately. Minor scratches can often be polished out using fine - grit sandpaper or a polishing compound. For more significant damage, such as cracks or broken parts, professional repair services may be required. It's important to use high - quality replacement parts to ensure the continued performance of the mould.
Temperature Control
Proper temperature control is crucial for the performance and longevity of bumper moulds. During the molding process, the mould needs to be heated to a specific temperature to ensure proper plastic flow and part formation. After the molding is complete, the mould needs to be cooled down to a suitable temperature for part ejection.
Incorrect temperature control can cause various problems, such as warping of the molded parts, premature wear of the mould, and even thermal stress cracking. To maintain the right temperature, use a reliable temperature control system. This system can monitor and adjust the temperature of the mould during the entire production process.
Lubrication
Moving parts in the bumper mould, such as slides and ejector pins, require proper lubrication to reduce friction and wear. Lubrication helps to ensure smooth operation of these parts, which is essential for consistent production quality.
Choose a lubricant that is suitable for the mould material and the production environment. Apply the lubricant at regular intervals, following the manufacturer's recommendations. Over - lubrication can also be a problem, as it can attract dirt and debris, which may cause blockages or other issues.
Storage
When the bumper mould is not in use, proper storage is necessary to prevent damage. Store the mould in a clean, dry, and temperature - controlled environment. Avoid storing the mould in areas with high humidity or where it may be exposed to dust, chemicals, or mechanical damage.
Cover the mould with a protective cover to prevent dust and debris from accumulating on the surface. If possible, store the mould in a vertical position to prevent any deformation.
Training and Documentation
Proper training of the operators is crucial for the correct maintenance of bumper moulds. Operators should be trained on how to clean, inspect, lubricate, and handle the mould properly. They should also be aware of the signs of potential problems and know when to report them.
Maintaining detailed documentation of the mould's maintenance history is also important. This documentation can include information such as cleaning schedules, inspection results, repair records, and lubrication intervals. It helps in tracking the performance of the mould over time and can be useful for future maintenance planning.
In conclusion, maintaining a bumper mould is a comprehensive process that requires attention to detail and regular maintenance activities. By following these tips, you can ensure the long - term performance and reliability of your bumper moulds, which will ultimately lead to higher - quality production and cost savings.
If you are interested in our Bumper Injection Mould, Compression Molds For Automotive or Rear Bumper Mould, or have any questions about bumper mould maintenance, please feel free to contact us for further discussion and potential procurement.
References
- "Mould Design and Manufacturing Handbook"
- Industry - specific research papers on automotive mould maintenance