

As a seasoned Plastic Toy Mould supplier, I've witnessed firsthand the critical role that uniform wall thickness plays in plastic toy moulding. Achieving consistent wall thickness is not just about aesthetics; it's fundamental to the structural integrity, functionality, and cost - effectiveness of plastic toys. In this blog, I'll share some key strategies and considerations to ensure uniform wall thickness in plastic toy moulding.
Understanding the Importance of Uniform Wall Thickness
Before delving into the methods, it's essential to understand why uniform wall thickness matters. When the wall thickness of a plastic toy varies significantly, it can lead to several issues. Firstly, uneven cooling occurs during the moulding process. Thicker sections take longer to cool than thinner ones, which can cause internal stresses within the toy. These stresses may result in warping, cracking, or distortion of the final product, making it less appealing and potentially unsafe for children.

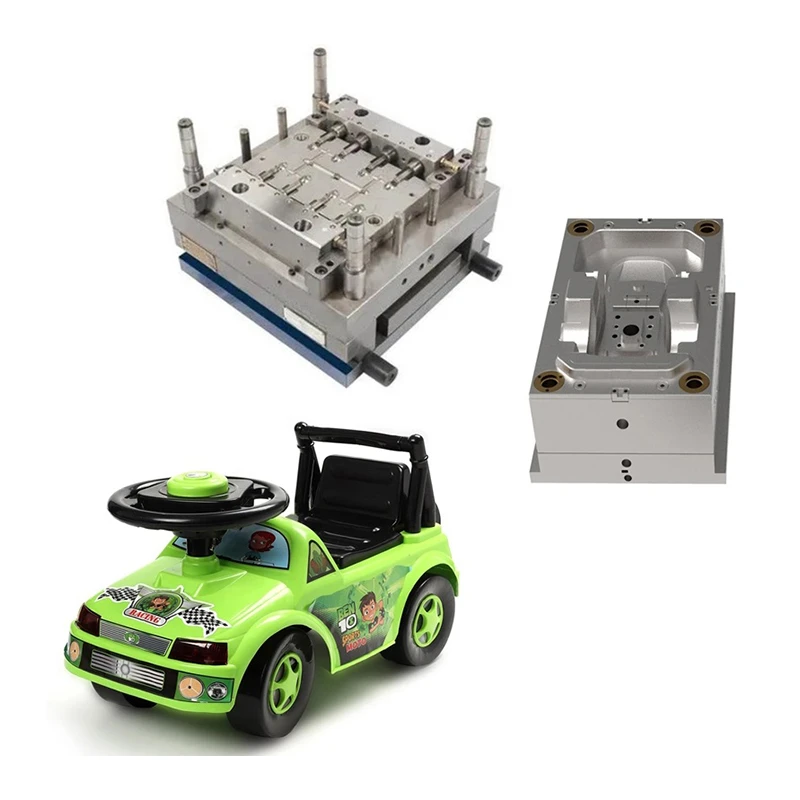
Secondly, inconsistent wall thickness affects the mechanical properties of the toy. Thinner walls may be weaker and more prone to breakage, while thicker walls can add unnecessary weight and cost to the production. Moreover, in toys with moving parts or complex designs, non - uniform wall thickness can interfere with the proper functioning of these components.
Design Considerations
Geometric Design
The initial design of the plastic toy is the first step in ensuring uniform wall thickness. When creating the toy's 3D model, designers should aim for simple and regular geometric shapes. Avoid sudden changes in cross - sectional area or sharp corners, as these can disrupt the flow of molten plastic during injection moulding. For example, a toy with a smooth, rounded body will generally have more consistent wall thickness compared to one with jagged edges or deep recesses.
Draft Angles
Incorporating draft angles into the design is crucial. Draft angles are slight tapers on the vertical walls of the toy. They allow the part to be easily ejected from the mould without causing damage. When designing a toy with a uniform wall thickness, appropriate draft angles ensure that the plastic can flow evenly along the walls during the filling phase of the moulding process. A general rule of thumb is to have a draft angle of at least 1 - 2 degrees for external walls and 2 - 3 degrees for internal walls.
Ribs and Bosses
Ribs and bosses are often used in plastic toy design to add strength and support. However, they need to be designed carefully to maintain uniform wall thickness. The thickness of ribs should typically be no more than 0.6 - 0.7 times the main wall thickness. Similarly, bosses should be sized proportionally to the surrounding walls. If the ribs or bosses are too thick, they can cause hot spots during cooling, leading to uneven shrinkage and non - uniform wall thickness.
Mould Design and Manufacturing
Gate Location
The gate is the point where the molten plastic enters the mould cavity. Choosing the right gate location is essential for achieving uniform wall thickness. The gate should be placed in a way that allows the plastic to flow evenly throughout the mould. For complex toy designs, multiple gates may be required to ensure proper filling. For example, in a large, multi - chambered toy, placing gates at strategic points can help balance the flow of plastic and prevent thin or thick spots.
Runner System
The runner system is responsible for transporting the molten plastic from the injection unit to the gate. A well - designed runner system can minimize pressure drops and ensure a consistent flow of plastic. The diameter and length of the runners should be optimized based on the size and complexity of the toy. Additionally, the use of hot runners can be beneficial in maintaining a constant temperature of the plastic, which helps in achieving uniform wall thickness.
Mould Cooling System
An efficient mould cooling system is vital for controlling the cooling rate of the plastic and ensuring uniform wall thickness. The cooling channels in the mould should be designed to provide even cooling across all areas of the mould cavity. This can be achieved by using a combination of straight and spiral cooling channels. The distance between the cooling channels and the mould surface should be carefully calculated to ensure that the plastic cools at a consistent rate. For example, in a toy with a thick section, additional cooling channels can be placed in that area to match the cooling rate of the thinner sections.
Process Optimization
Injection Speed and Pressure
During the injection phase, the speed and pressure at which the molten plastic is injected into the mould can significantly impact wall thickness. A too - high injection speed can cause the plastic to rush into the mould cavity unevenly, leading to thin or thick spots. On the other hand, a too - low injection speed may result in incomplete filling. The injection pressure should also be carefully controlled to ensure that the plastic fills the entire mould cavity without over - packing.
Holding Pressure and Time
After the mould is filled, a holding pressure is applied to compensate for the shrinkage of the plastic as it cools. The holding pressure and the time for which it is applied need to be optimized. If the holding pressure is too high or the holding time is too long, it can cause the plastic to flow into areas where it is not needed, resulting in uneven wall thickness. Conversely, insufficient holding pressure or time can lead to voids or sink marks in the toy.
Cooling Time
The cooling time is the period during which the plastic solidifies in the mould. It is essential to allow enough cooling time for the plastic to reach a stable state. However, excessive cooling time can increase the production cycle time and cost. By carefully controlling the cooling time based on the wall thickness and the type of plastic used, uniform wall thickness can be achieved.
Quality Control
In - process Inspection
Regular in - process inspection is necessary to detect any issues with wall thickness early in the production process. This can be done using techniques such as ultrasonic thickness measurement or X - ray inspection. Ultrasonic thickness measurement is a non - destructive method that can quickly and accurately measure the wall thickness at various points on the toy. X - ray inspection can provide a more detailed view of the internal structure of the toy, allowing for the detection of any hidden thickness variations.
Post - production Testing
After the toys are produced, post - production testing should be carried out to ensure that the wall thickness meets the required specifications. This can include physical testing, such as measuring the wall thickness at multiple points using a micrometer or caliper. Toys can also be subjected to functional testing to check for any performance issues related to wall thickness, such as breakage or malfunction of moving parts.
Conclusion
Ensuring uniform wall thickness in plastic toy moulding is a complex but achievable goal. By paying close attention to design, mould manufacturing, process optimization, and quality control, plastic toy manufacturers can produce high - quality toys with consistent wall thickness. As a Plastic Toy Mould supplier, we are committed to providing our customers with moulds that are designed and manufactured to the highest standards, enabling them to achieve excellent results in plastic toy production.
If you are in the market for Plastic Toy Injection Mould, Children Electrical Car Mould, or Baby Car Mold, we invite you to contact us for a detailed discussion. Our team of experts is ready to assist you in every step of the process, from design to production. Let's work together to create innovative and high - quality plastic toys.
References
- "Injection Molding Handbook" by O. Olugbade
- "Plastic Product Design" by R. Crawford
- "Mold Design and Manufacturing Technology" by J. Zhang