

Hey there! As a bumper mould supplier, I've seen a lot of issues that manufacturers face when using our moulds to make bumpers. One of the most common problems is the appearance of air bubbles in the finished bumpers. These air bubbles can not only affect the aesthetic appeal of the bumper but also compromise its structural integrity. So, let's dive into how we can eliminate those pesky air bubbles.
Understanding the Root Causes
Before we start talking about solutions, it's crucial to understand why these air bubbles form in the first place. There are several factors that can contribute to this issue.
Firstly, the material itself can be a culprit. If the plastic resin used has a high moisture content, it can vaporize during the moulding process and create air bubbles. Also, if the resin has a high viscosity, it can trap air more easily as it flows into the mould cavity.
Secondly, the mould design matters a great deal. Poorly designed vents in the mould can prevent air from escaping properly. If the vents are too small or blocked, the air gets trapped inside the plastic as it solidifies.
Another significant factor is the injection process. If the injection speed is too high, it can cause turbulence in the molten plastic, leading to air entrapment. On the other hand, if the injection pressure is too low, the plastic may not fill the mould cavity completely, leaving pockets of air.
Pre - Moulding Preparations
To start with, let's look at what we can do before the actual moulding process.
Material Drying: As I mentioned earlier, moisture in the plastic resin can cause air bubbles. So, it's essential to dry the resin thoroughly before use. Most plastic resins have specific drying requirements in terms of temperature and time. For example, polypropylene usually needs to be dried at around 80 - 100°C for 2 - 4 hours. By following these guidelines, we can reduce the moisture content and minimize the chances of air bubble formation.
Mould Inspection and Cleaning: Regularly inspecting and cleaning the mould is a must. Check the vents to make sure they are clear of any debris or plastic residue. You can use compressed air or specialized cleaning tools to clean the vents. Also, inspect the mould surface for any scratches or damages that could disrupt the flow of plastic and cause air entrapment.
Optimizing the Mould Design
A well - designed mould is key to eliminating air bubbles.
Vent Design: The vents in the mould should be properly sized and located. They should be placed at the areas where air is most likely to get trapped, such as the corners and the end of the flow path. For example, in a Rear Bumper Mould, the vents should be strategically placed to ensure that air can escape as the plastic fills the cavity. You can consult with a mould design expert to optimize the vent design for your specific bumper mould.
Gating System: The gating system, which controls the flow of plastic into the mould, also plays an important role. A well - designed gating system can ensure a smooth and uniform flow of plastic, reducing the chances of air entrapment. For instance, using a fan gate can help distribute the plastic evenly across the mould cavity.
Adjusting the Injection Process
The injection process parameters need to be carefully adjusted to prevent air bubbles.
Injection Speed: Finding the right injection speed is crucial. If the speed is too high, as I said before, it can cause turbulence in the plastic. Start with a relatively low injection speed and gradually increase it while monitoring the quality of the finished bumper. You may need to do some trial and error to find the optimal speed for your specific mould and material.
Injection Pressure: The injection pressure should be sufficient to fill the mould cavity completely but not too high to cause excessive stress on the mould or the plastic. If the pressure is too low, the plastic may not reach all parts of the mould, leaving air pockets. You can use pressure sensors in the mould to monitor and adjust the injection pressure accurately.
Holding Pressure and Time: After the mould is filled, applying the right holding pressure and for the appropriate time is important. The holding pressure helps to pack the plastic tightly and eliminate any voids or air bubbles. The holding time should be long enough to ensure that the plastic has solidified properly under pressure.
Post - Moulding Treatments
Even after taking all the precautions during the moulding process, there may still be some minor air bubbles in the bumper.
Heat Treatment: Applying heat treatment to the finished bumper can sometimes help to reduce the appearance of air bubbles. By heating the bumper to a specific temperature and then cooling it slowly, the plastic can relax and the air bubbles may shrink or disappear. However, this method needs to be used carefully as excessive heat can damage the bumper.
Quality Control and Monitoring
Implementing a strict quality control system is essential. Inspect the finished bumpers regularly for air bubbles. You can use visual inspection, as well as non - destructive testing methods such as ultrasonic testing to detect any hidden air bubbles. Keep records of the moulding process parameters and the quality of the finished products. This data can help you identify any trends or issues and make adjustments to the process accordingly.
In conclusion, eliminating air bubbles in bumpers made by a bumper mould requires a comprehensive approach. From pre - moulding preparations to post - moulding treatments, every step matters. As a Compression Molds For Automotive supplier, we are always here to help you optimize your moulding process and achieve high - quality bumpers.
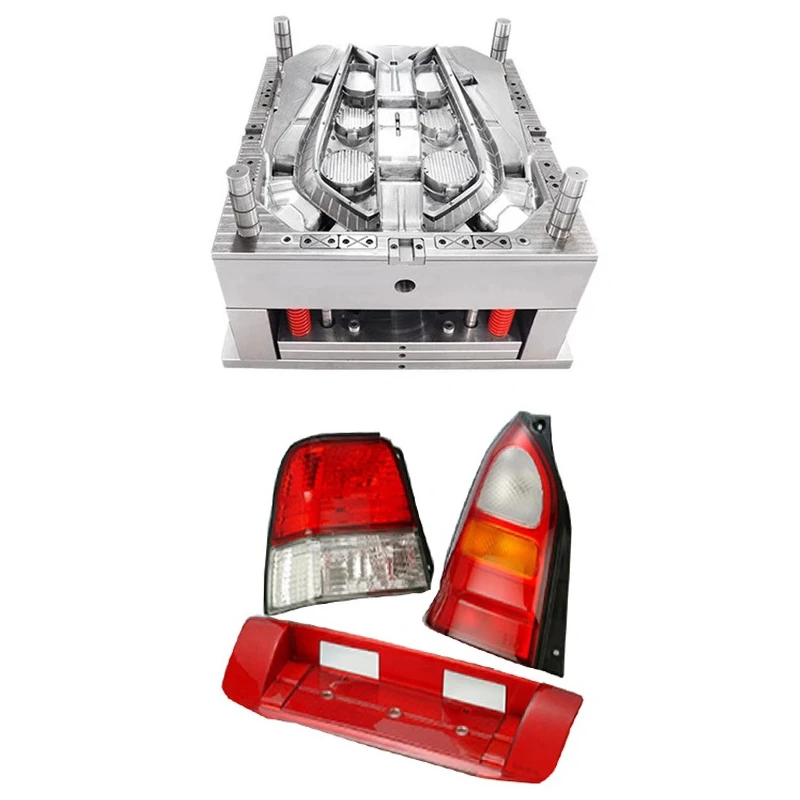
If you're in the market for high - quality bumper moulds or need advice on eliminating air bubbles in your bumper production, don't hesitate to reach out. We can also offer guidance on related products like Car Lamp Injection Mold. Let's work together to improve your bumper manufacturing process and boost your business!

References
- “Plastic Injection Molding Handbook” by O. Olabisi
- “Mould Design for Plastics” by John A. Doboczky